I've been asked a handful of times about my Dockerized Odoo article. Even today 8 years after the release of Docker there's hesitation around developing with it. I completely understand that because Docker can be complex.
Originally I wanted to cover the major topics, features, and pain points that I noticed as a developer working with Docker. That's where the Dockerized Odoo article came from. Now I think I can help a certain type of developer by putting out a quickstart guide with simpler steps. This is targeted towards that developer who might not need every detail.
So that's what I'm aiming to do here. Here's the most pragmatic quickstart guide to working with Odoo and Docker that I can come up with:
Installing Docker
For detailed instructions on getting setup in a specific environment, take a look at docs.docker.com/get-docker/. At the end of the day we need access to the docker command line tool. This is what we'll use
to work with, control, and manipulate our containers.
Linux/Unix
Using Docker's docker-install script is the easiest way to install Docker on Linux.
$ curl -fsSL https://get.docker.com -o get-docker.sh
$ sh get-docker.sh
Mac
On a Mac you need to download the Docker Desktop .dmg to install the application from docs.docker.com/docker-for-mac/install/.
Windows
Now to be honest I have very little experience with Docker on Windows, but I have set it up a handful of times. Using docs.docker.com/docker-for-windows/install/ and downloading the Docker Desktop application was pretty straight forward.
I would make sure you have access to docker from powershell once it's installed.
Local Development
As Odoo developers, there is a handful of tasks that we do over and over and over while building Odoo modules or applications. I'm going to show you how to handle the basic tasks to get your work done day to day.
For this section we are just going to stick with standard docker commands.
Starting an Odoo instance

When starting a brand new instance, there are two steps:
1. Start up a Postgres database container. Use a name unique to your project. For example, you'll see
below that I am using myodoo_db since I am working in a sample project called
myodoo.
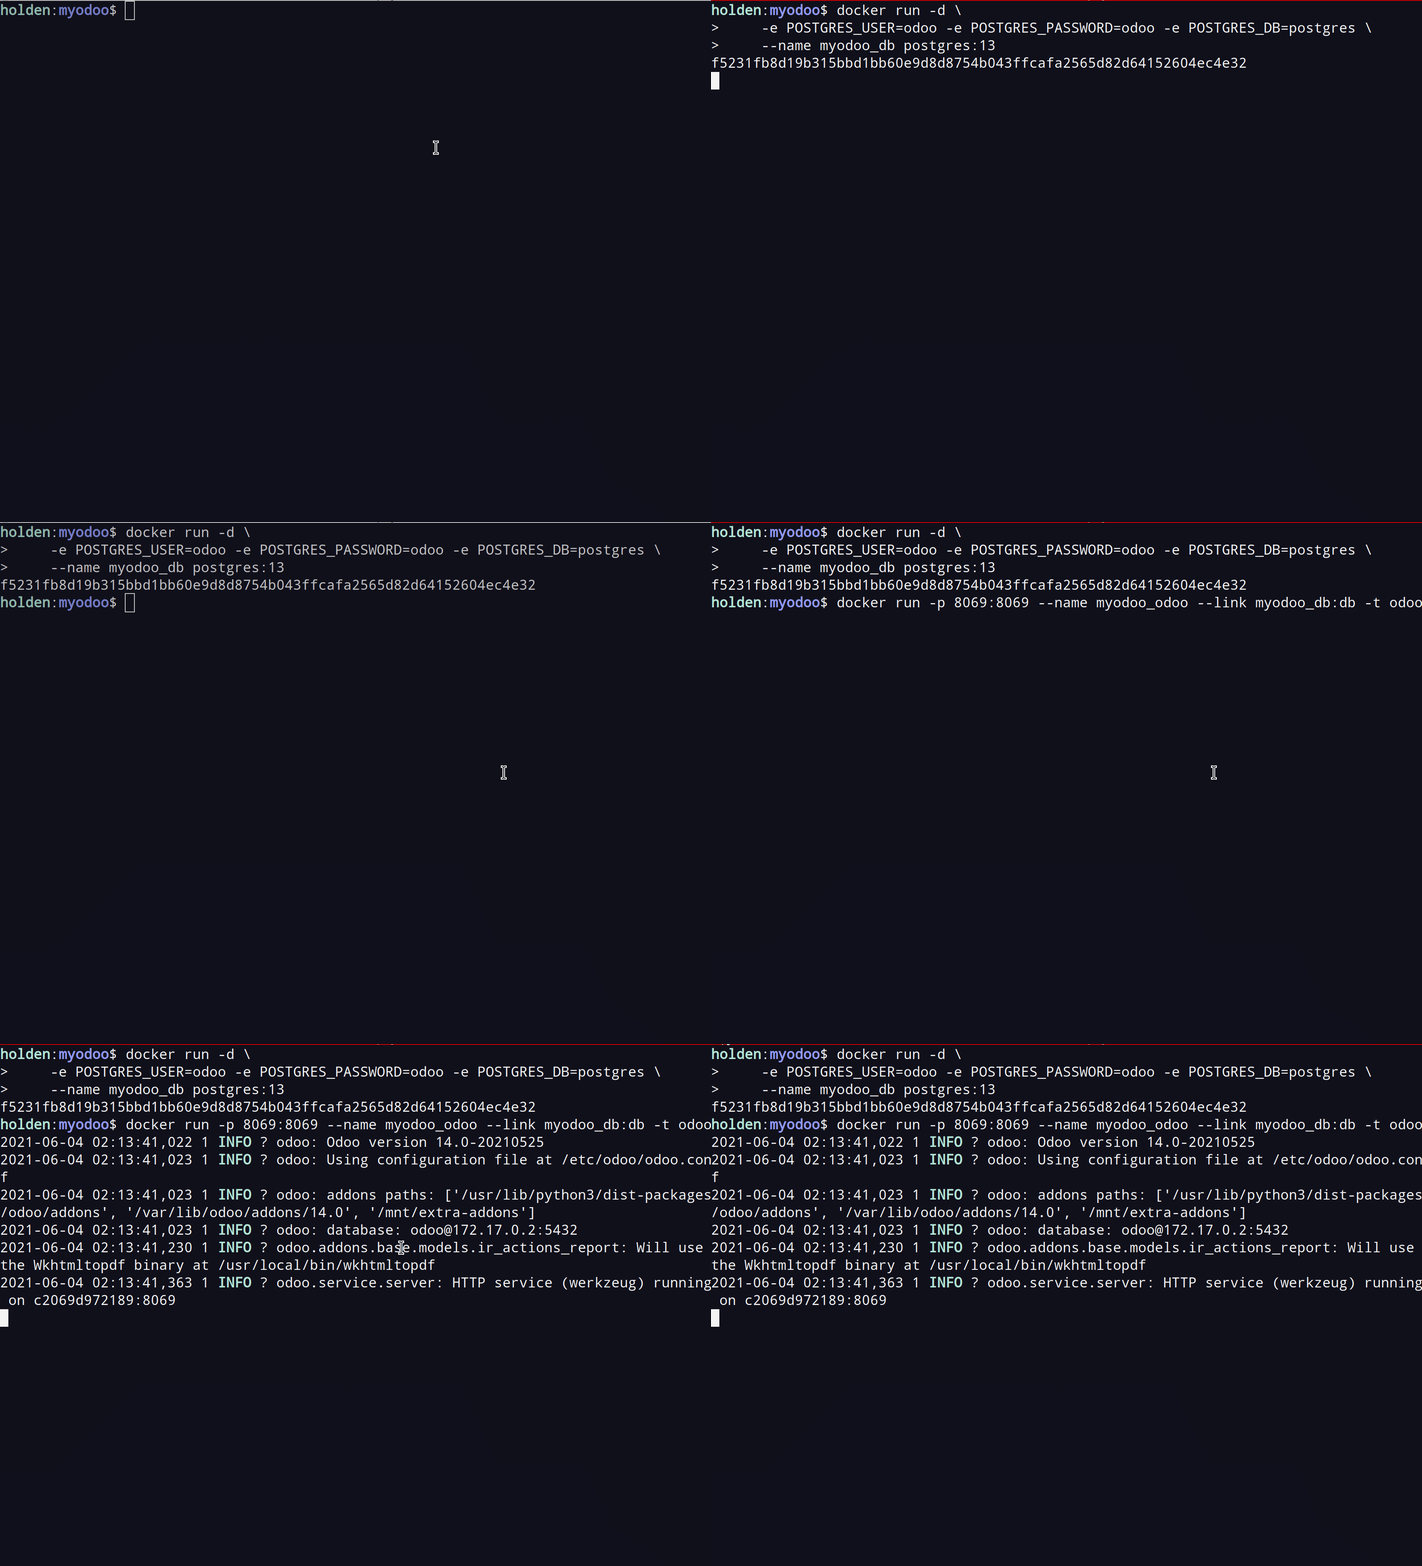
$ docker run -d \
    -e POSTGRES_USER=odoo \
    -e POSTGRES_PASSWORD=odoo \
    -e POSTGRES_DB=postgres \
    --name myodoo_db postgres:13
2. Start up the Odoo container. Similarly, try to use a unique name. I'm again prefixing the name with myodoo_ to keep the container names unique.
$ docker run -p 8069:8069 --name myodoo_odoo --link myodoo_db:db -t odoo
In this example we've opened up the Odoo instance to http://localhost:8069.
Stopping an Odoo instance
Containers can either be run in the foreground or background. So far we are running the postgres container
in the background (using the -d flag) and the Odoo instance in the foreground.
To stop the Odoo container you can just use ctrl+c.
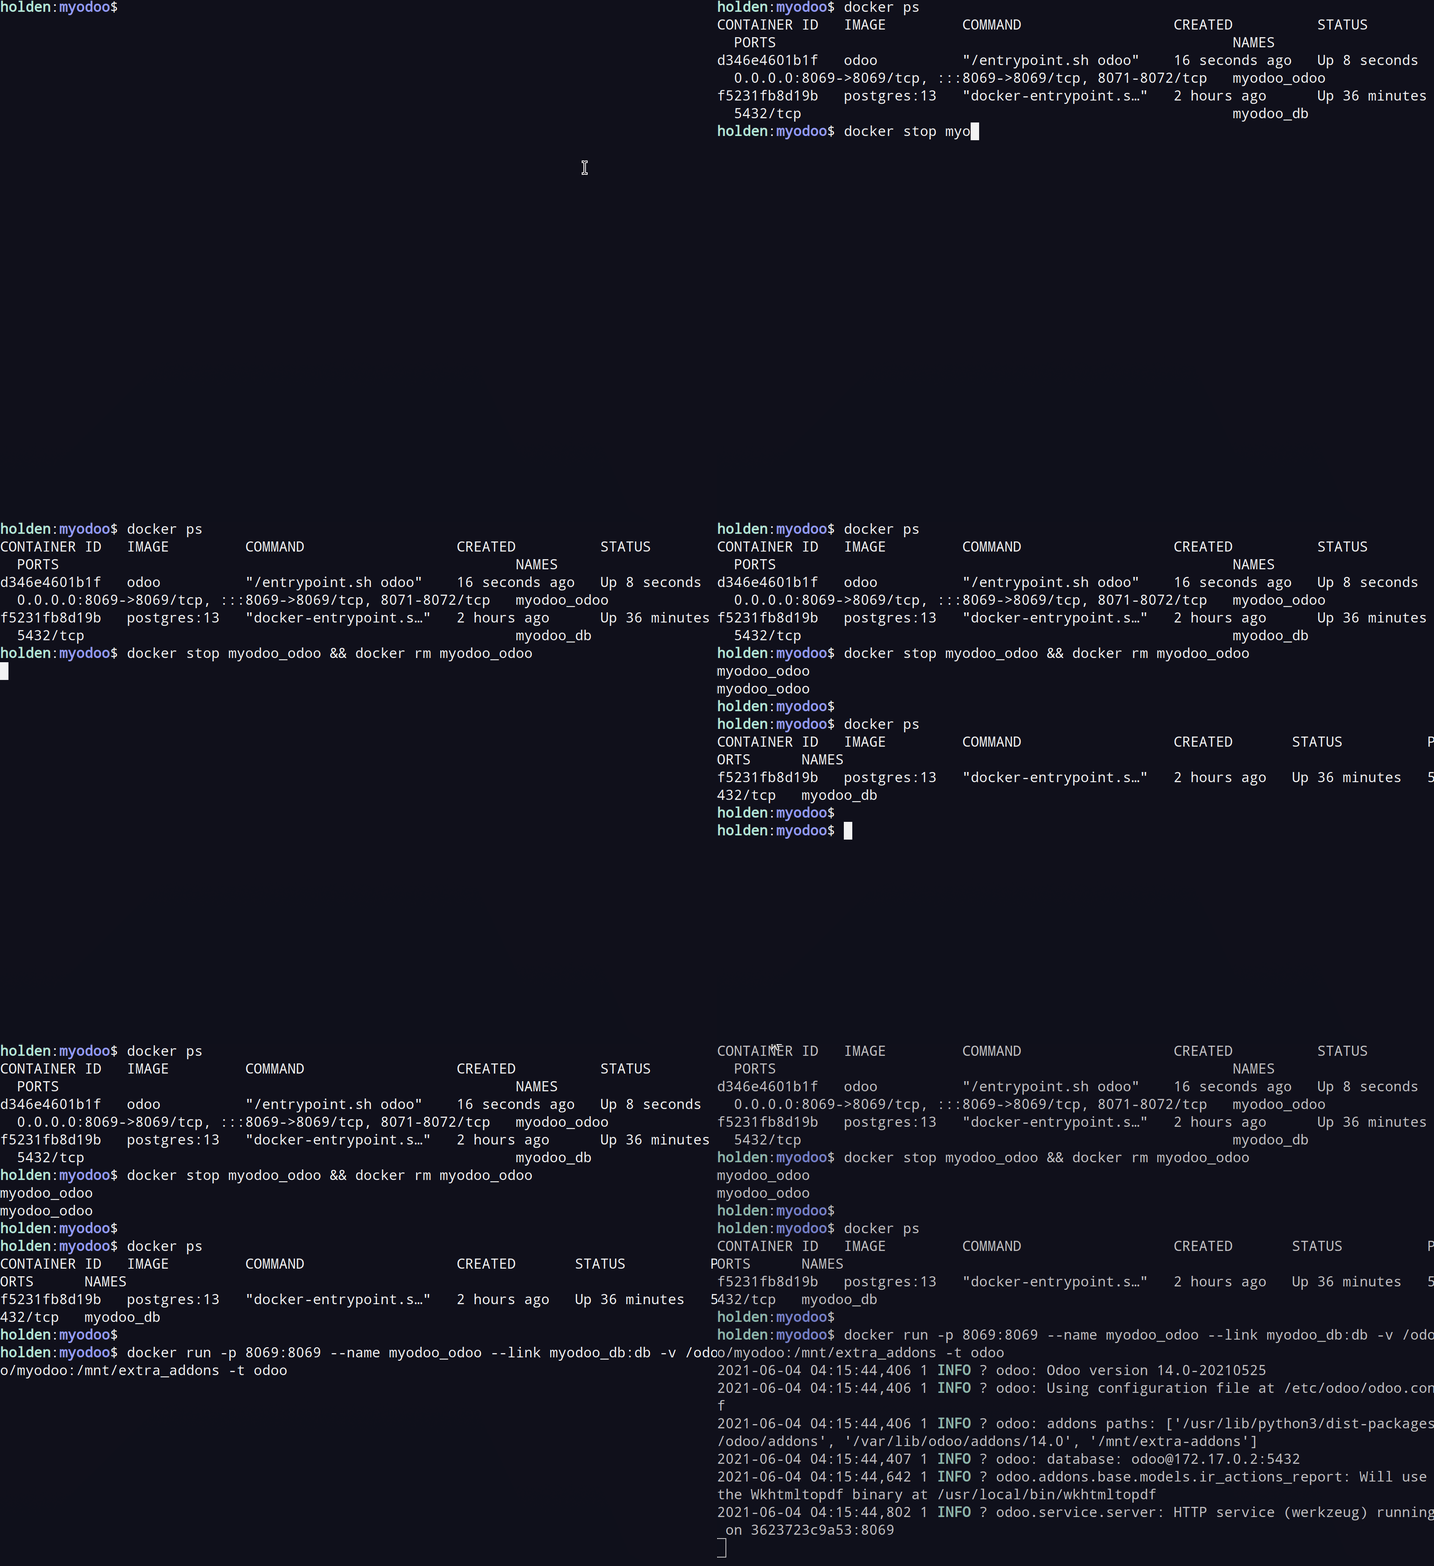
To stop a container running in the background, you can use docker stop {container-name}.
It's helpful to first run docker ps to see what's actually running right now.
$ docker ps
CONTAINER ID   IMAGE         COMMAND                  CREATED             STATUS             PORTS      NAMES
f5231fb8d19b   postgres:13   "docker-entrypoint.s…"   About an hour ago   Up About an hour   5432/tcp   myodoo_db

$ docker stop myodoo_db
myodoo_db

$ docker ps
CONTAINER ID   IMAGE         COMMAND                  CREATED             STATUS             PORTS      NAMES
Restarting an Odoo instance
To bring containers back up that are currently off, use docker start.
$ docker start myodoo_db
$ docker start myodoo_odoo
Or to restart containers that are already running, use docker restart. For example, when
coding a new module you'll probably use docker restart
often.
$ docker restart myodoo_odoo
Configuring Odoo
The configurations for the Odoo instance can be set by either passing inline argument or providing a new odoo.conf file.
It's important to keep in mind that certain parts of containers cannot be modified once they are created. They are meant to be easily destroyed and recreated. So first we need to get rid of our original Odoo container:
$ docker stop myodoo_odoo  # running containers cannot be removed
$ docker rm myodoo_odoo
To create a new container with inline arguments, it's possible to pass them in via the -- keyword:
$ docker run -p 8069:8069 --name myodoo_odoo --link myodoo_db:db -t odoo -- list_db=False
To create a new container with a new conf file all together we are going to use the -v
which defines a new volume. A volume is essentially a way to share data between your host computer and the
container. In this example, it's assuming that you have a file called
/my/odoo/odoo.conf on your computer.
$ docker run -p 8069:8069 --name myodoo_odoo --link myodoo_db:db -v /my/odoo:/etc/odoo -t odoo
Adding custom addons
Now we may want to load in some of our own modules that we're working on. I have a sample directory under /odoo/myodoo for this sample project and it looks like:
/odoo/myodoo/
└── addons
    ├── event_mail
    ├── event_project
    └── partner_event
To mount these addons into the Odoo container, we need to link a volume to a designated directory that the
Odoo container has built in for extra addons at /mnt/extra_addons:
$ docker run \
    -p 8069:8069 \
    --name myodoo_odoo \
    --link myodoo_db:db \
    -v /odoo/myodoo:/mnt/extra_addons \
    -t odoo

Once started up, you will have access to your addons via the Apps menu as usual. As your developing your
addons you can docker restart myodoo_odoo to reload your python code.
Connecting to the database
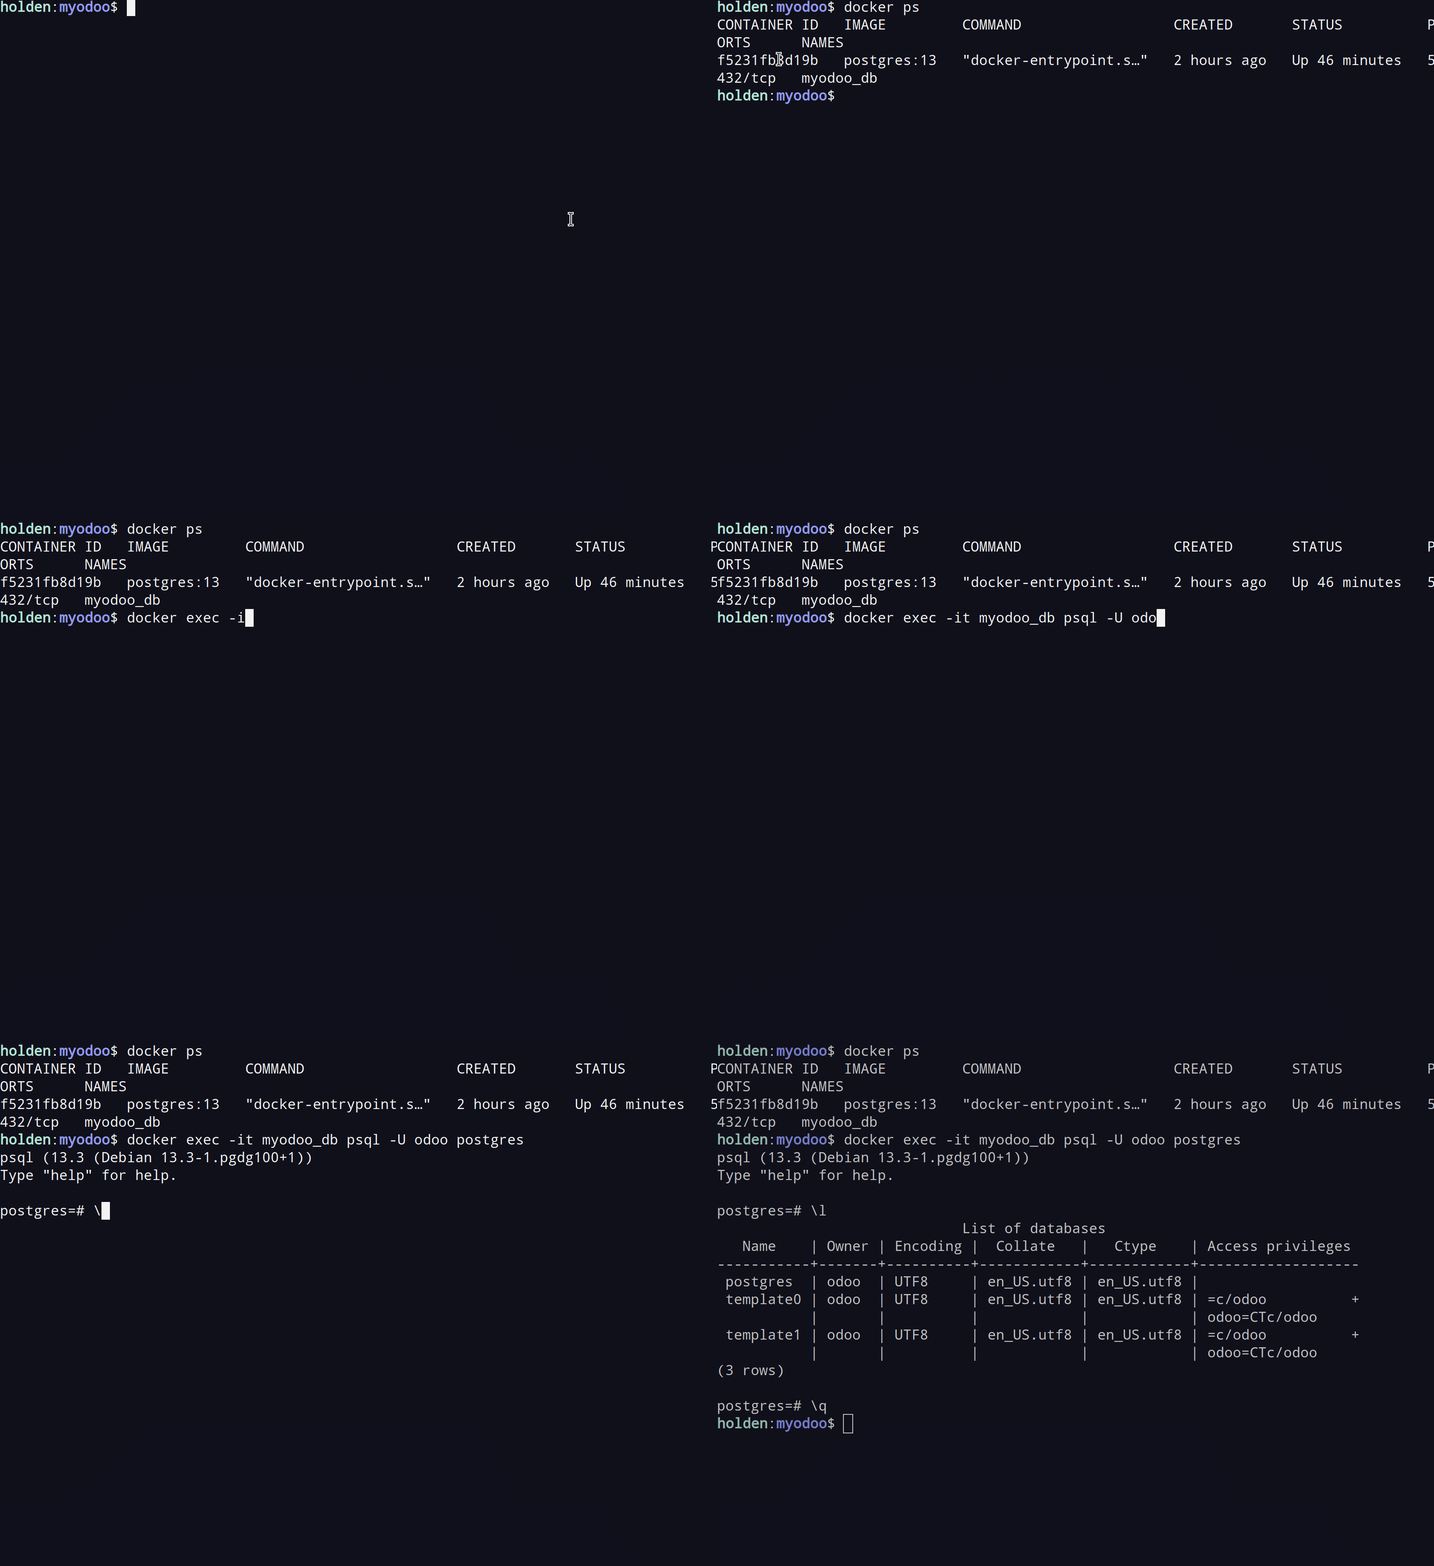
Running any command "inside" of the container can be done via docker exec. This is helpful
also to access the database. When first creating the database container we passed in environment variables
for the credentials (user is odoo, password is
odoo, default database is postgres).
To open up the connection to the database we use docker exec to run psql
inside of the container.
$ docker exec -it myodoo_db psql -U odoo -W postgres

Tailing or reading log
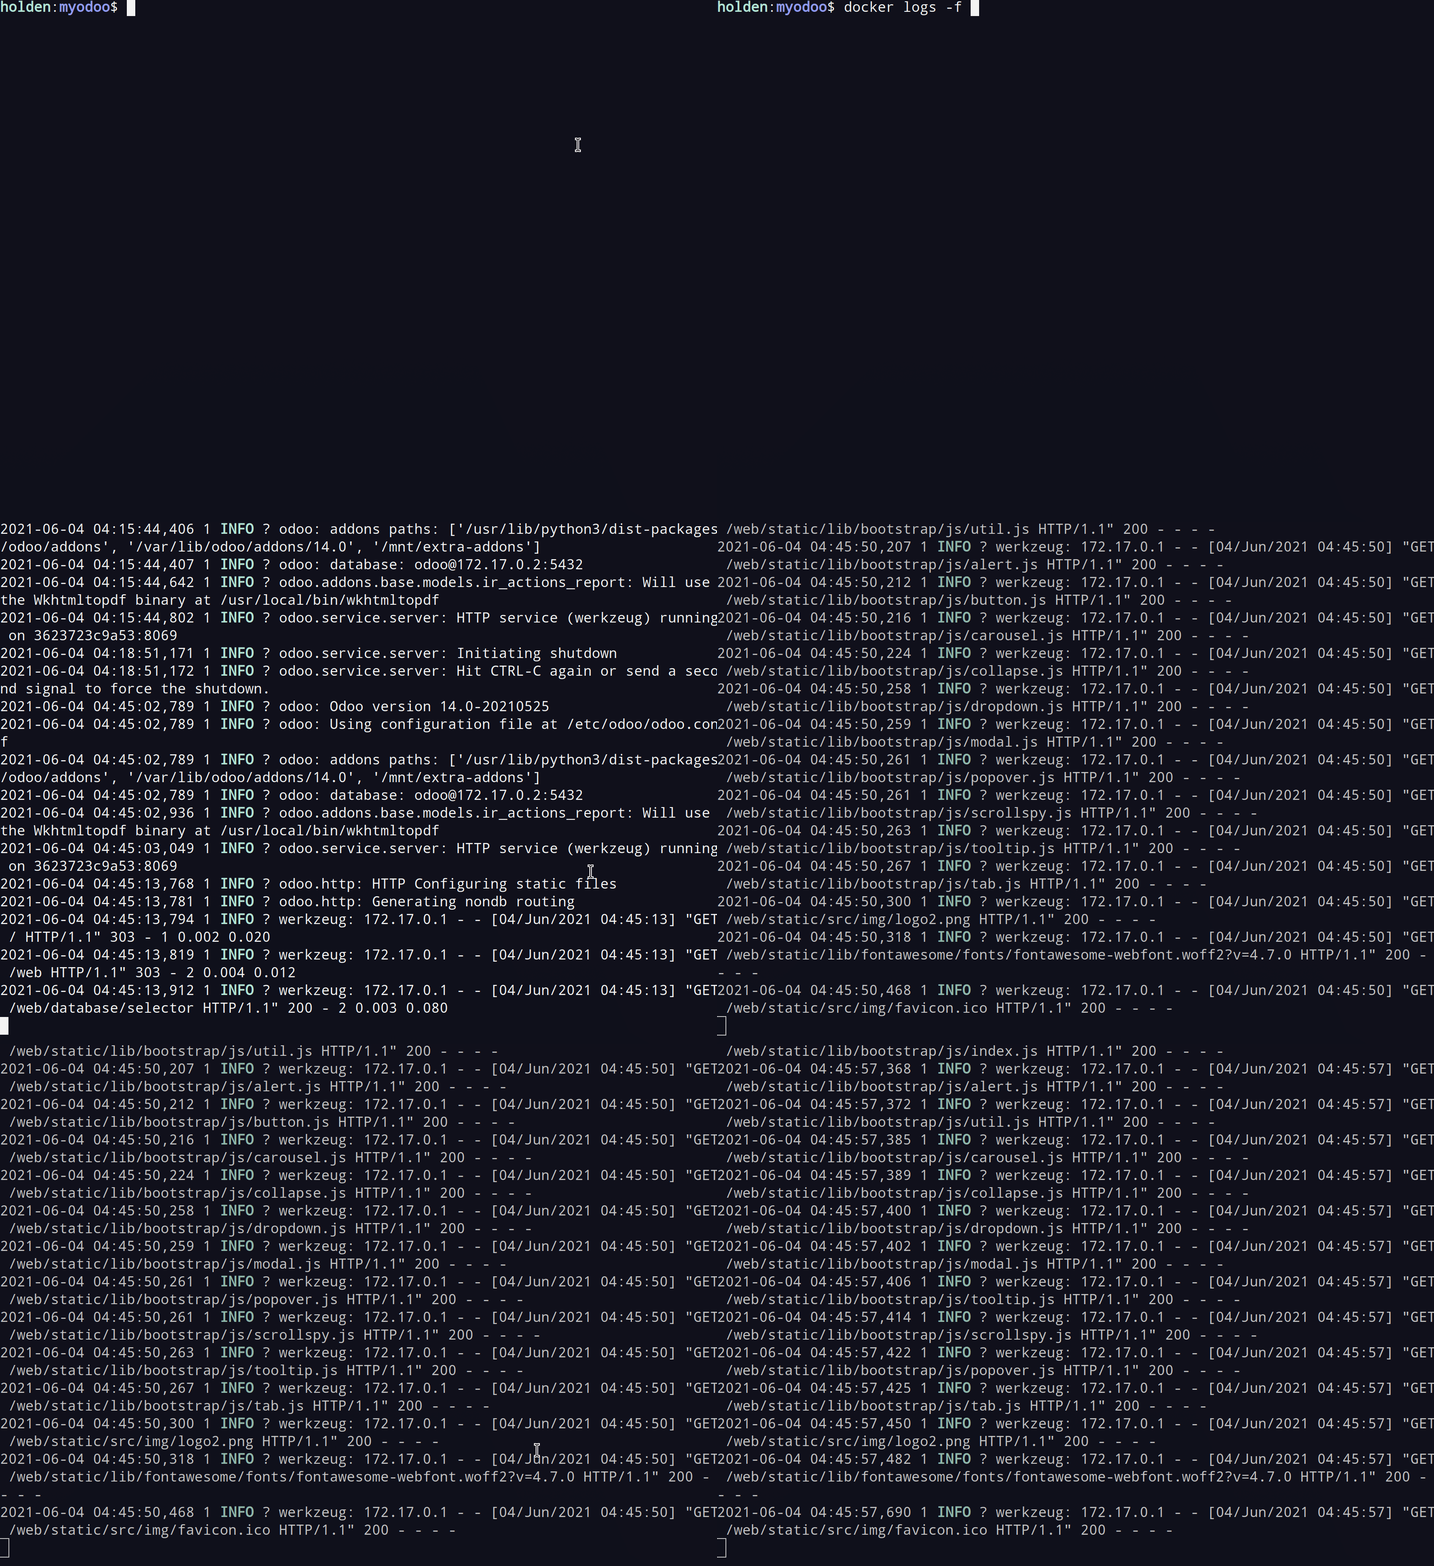
The simplest way to monitor logs while working locally is through the docker logs
command. You can list, grep, and tail logs for a specific container. Here is an example of tailing logs on
one of the Odoo container's we've created:
$ docker logs -f myodoo_odoo

A Note on Docker Compose
In Dockerizing Odoo I utilized
docker-compose and I still recommend using it if you really start to depend on Docker for your
development. It feels like a must-have utility for the sake of efficiency.
But I'm thinking about the total beginners here. The Odoo developers who are just playing around with Docker for the first time and using Docker directly helps you learn more because of how explicit the API is and it's also simpler on a small scale (one or two containers).
As you learn more and get more comfortable with docker I recommend going back to look at my
original article and to start reading through the
Docker Compose documentation.
Wrapping Up
That's the basics for simple local Odoo development techniques using Docker. Try them out and let me know what you think. I hope it's able to simplify your workflow or your team's workflow!
Best of luck coding.
- Holden
Thanks For Reading
I appreciate you taking the time to read any of my articles. I hope it has helped you out in some way. If you're looking for more ramblings, take a look at theentire catalog of articles I've written. Give me a follow on Twitter or Github to see what else I've got going on. Feel free to reach out if you want to talk!
